In May, I first wrote about cooking pizza on the BBQ. This is a follow up post of sorts. Truth be told, homemade pizza on the BBQ has quickly become a family meal in our home, and our go to meal for indulgence and piggery.
Barbecuing pizza is not in any way a gimmick (something that you wouldn’t normally do, but do because you just love grilling)–it produces genuinely fantastic results that are better most pizza restaurants. It’s impossible to get pizza as good in your home oven.
Pizza peel – to transfer to the hot stone on the BBQ
Pizza stone
A BBQ or gas grill with a lid capable of getting to about 500 – 650 degrees, ideally 600-650
You’ll also need some cornmeal to sprinkle on the pizza peel
1/2 cup warm water (110 degrees)
1 envelope instant yeast
1 1/4 cups water; at room temperature
2 tablespoons extra virgin olive oil
7.5 ounces of fine semolina flour (1 1/2 cups) + 14.5 ounces of bread flour (2 1/2 cups), OR 22 ounces bread flour (4 cups)
1 1/2 teaspoons of salt
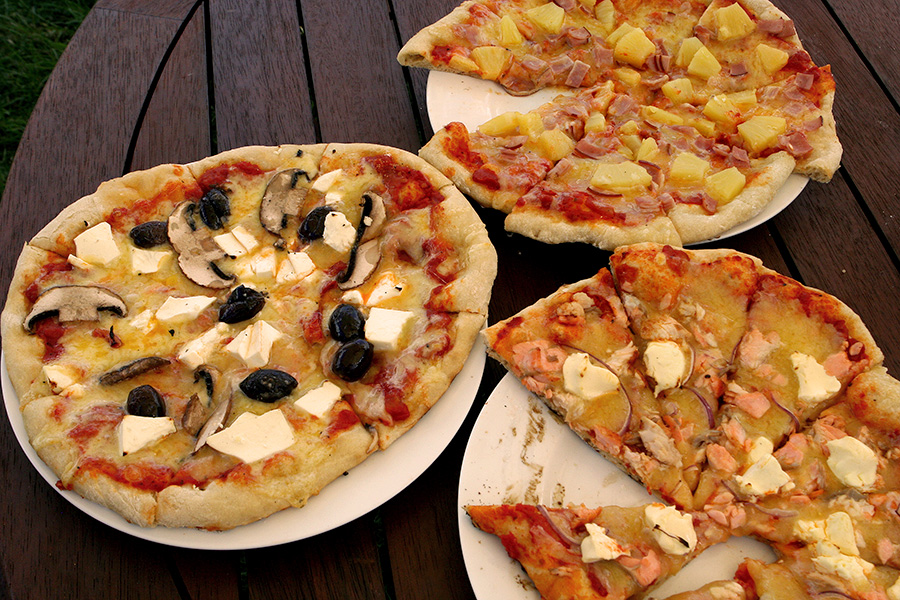
Ingredients for a pizza are kind of like a sandwich; whatever you have at hand, or feel like on the day. Mozzarella, pizza sauce, pepperoni, ham, pineapple, salmon, cream cheese, mushroom, onion, etc!
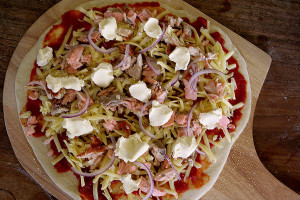
My three pizzas were: ham and pineapple; salmon (pre-cooked in the frying pan), red onion, and cream cheese; mushrooms, kalamata olives, and feta cheese.
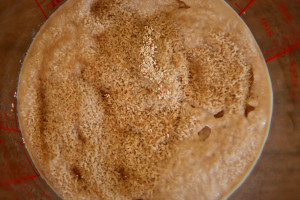
Step 1. Prepare the Yeast. Add the warm water into a 2 cup measuring jug. Sprinkle the yeast and let it stand for about five minutes, or until the yeast swells.
Step 2. Add the room temp water, and olive oil, and stir.

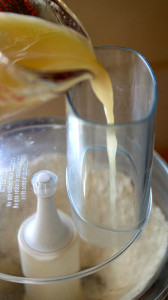
Step 3. Whizz the flour and salt in the food processor for 10 seconds. Add the yeast mixture while the food processor is running.
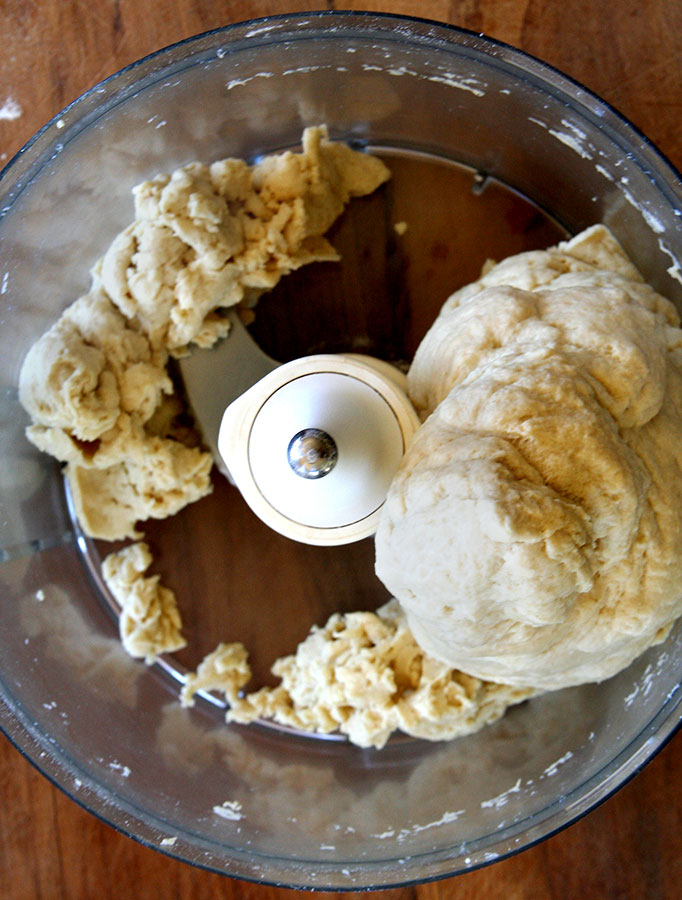
Step 4. Run the food processor until the mixture combines to a ball. Continue to process the dough for another 20-25 seconds. There will be a few stray pieces of dough (as pictured).
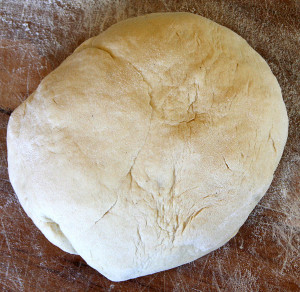
Step 5. Dump onto a floured prep surface and hand kneed a few times to finish off. The dough should be slightly elastic. Oil a large bowl, big enough for the dough to at least double in size. Add the dough and cover with plastic wrap. Put the dough somewhere warm for 2 hours, or until the dough doubles in size. Take a break, you’ll need to start preparing the BBQ and pizza toppings in about an hour.
Step 7. Prepare the toppings, and crank up the BBQ. For the sauce I’ve simply been using two cans of good canned tomatoes. Season them well and cook them low and slow for about 30 minutes, or until pizza sauce consistency is reached. You want all of your pizza toppings prepared and ready at hand, so cook/take out of packing/wash everything. Everything needs to be done very quickly, and you won’t have time to mess around.
At about 90 mins into the dough rising, load up your coals, or start up your grill. Pop your pizza stone on the cooking grid and close the lid. You want to get your BBQ really hot, around 600-650 degrees. Great care is obviously necessary at these temps (even when opening the lid).
NB: Never put a cold pizza stone on a hot BBQ, always heat the BBQ up as you heat the stone up. Also don’t leave the pizza stone on top of the pizza grid after the BBQ has cooled. Moisture can be trapped between the grid and the stone and cause your grid to rust prematurely.
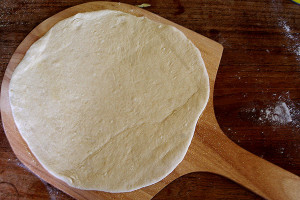
Step 8. After the dough has risen. Separate the dough out in thirds. Roll or stretch one third on a prepared surface and transfer to a pizza peel sprinkled with cornmeal.
Step 9. Add your toppings
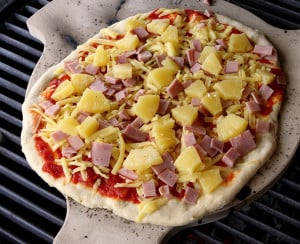
Step 10. Carefully transfer the pizza from the peel onto the pizza stone on the BBQ. Shut the lid as soon as possible and wait. Stay close to the BBQ and it wouldn’t be a bad idea at all to peak after just a couple of minutes to see how it’s going. It’s so easy to burn and a little heart breaking to have a fantastic looking pizza with a burned bottom. Here’s my ham and pineapple going on, yes I like a lot of pineapple on my Hawaiian pizzas.
Step 11. Repeat for the other two pizzas, then eat.
David B. January 4th, 2013
Posted In: BBQing HowTos, Recipes


Hi, great info here. Can you tell me why the semolina flour?
Sam, it gives the pizza a better texture and taste. It’s not required, and you can get by fine with regular bread flour. It just kicks it up an extra notch.
You can actually use any proportion of semolina to bread flour you want, some people only add a couple of tablespoons. I prefer more.