
These burgers were a huge success, everyone who had one wanted the recipe! But is that surprising? Who can resist crispy bacon parcels.
Definitely a keeper – if you love bacon, you have to give it a try!
This recipe is part of our Memorial Day Menu.
Skill Level: Intermediate
Rating: 5 of 5 stars
Makes: 6-9 (Depending on patty size)
1 1/2 lbs (700 grams) ground meat of your choice (we used venison, but ground beef would work equally well. You could also try lamb, pork, or even goat!)
1 1/2 small onions, finely chopped
1 1/2 Tablespoons Ketchup
1 1/2 Tablespoons Worcestershire sauce
Salt and Pepper (Approx 1/2 teaspoon of each)
1/2 cup cheese, grated (Ideally cheddar)
1-2 garlic cloves, minced
6 Tablespoons cream cheese
18-24 slices of bacon (3-4 per patty)
Toothpicks (optional)
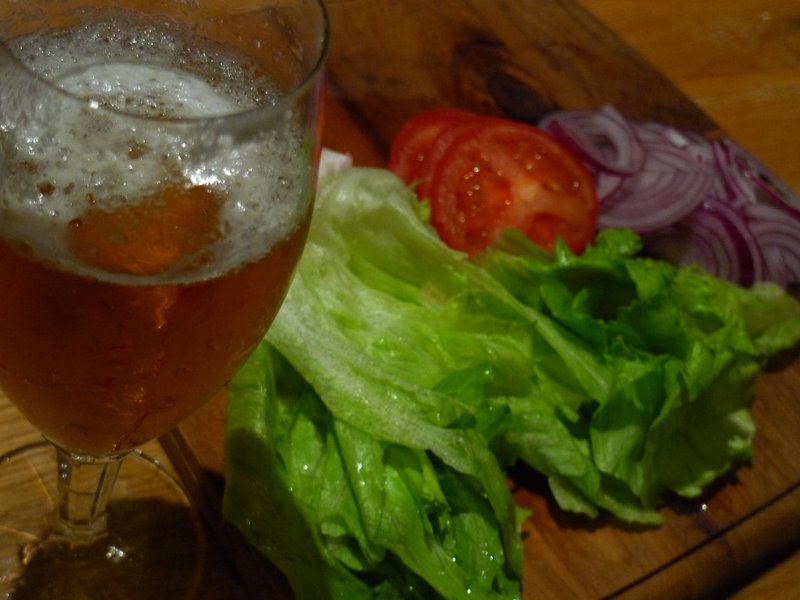
Tomatoes
Lettuce
Red Onion
Dijon Mustard
Mayonnaise
Hamburger Buns
-Â Preheat Grill for medium to low heat. (We cooked ours on low because we made 6 enormous patties instead of 9 smaller ones)


– Photo 1: Put the ground meat into a large bowl and break it up.
– Photo 2: Chop up the onions (we probably chopped them up too coarsely, I would do it finer next time) and add them to the bowl.
– Photo 3: Add the ketchup, worcestershire sauce, salt and pepper, and grated cheese.
– Photo 4: Now comes the messy part, mix/knead/squish the mixture thoroughly (Ideally, you want to mix this up with your hands – that seems to be the easiest way to get a good bind. However, a wooden spoon will work if you’re like me and not too fond of raw meat under your fingernails.)
– Photo 5: Keep mixing until the meat has formed a bind, as in the photo (This is the same technique used for making sausages.)
– Photo 6: Form into patties! (6-9 of them, depending on how large you want them. We made 6, which were HUGE. )


– Photo 7: Mix cream cheese and garlic together, divide into 6-9 portions (depending on how many patties you are making), and roll each portion into a ball.
– Photo 8: Poke a hole in the center of each patty.
– Photo 9: Pop a ball of cream cheese into each hole, and squeeze the meat shut over the top.


Photo 10: Wrap each patty with 3-4 slices of bacon. (We found that the bacon stayed on fine without requiring toothpicks if the direction of each slice was alternated 90 degrees when wrapping it around the patty, as in the picture.)
Photo 11: Bring your patties out to the hot grill and start cooking! (As you can see in the picture, our grill has a flat and a grid area. We found that cooking the patties on the flat area first sealed the bacon nicely and kept it from falling apart. However, it cooked faster on this area, so after they were sealed we moved the patties to the grid for slower cooking)
Photo 12: Continue to cook until the internal temperature reaches 160º F (71º C).
Photo 13: Bring your patties inside, wipe up the drool.
Photo 14: Hopefully you prepared your topping while the patties were cooking, but if not, quickly do it now!
Photo 15: Assemble your burgers (We used mayonnaise, ketchup, mustard, red onion, lettuce, and tomato), crack open a beer, and eat (Or at least try to – either my mouth was too small, or my burger was too large. However, my husband thought the size was perfect.)
Miniature versions of these patties would make fabulous finger food nibbles. You could serve them just as patties, with various sauces to dip them in. Or you could layer a slice of cheese and mushroom, tomato and avocado, or anything else that caught your fancy – all held together with a toothpick.
David B. April 3rd, 2010
Posted In: Recipes


